Cameras are a bit like computers – they can do so much, but typically we really only know how to do some of what they are capable of. And so it is with the little Fujifilm X100V – I’m still exploring some of the features and frequently get bamboozled by the menus (although I have to say they are more logical than on the Sony A7iii I recently had!)
I learned by chance that the X100V could do focus bracketing (ie taking several photos of a scene focussed at different distances, so they could be combined, or ‘stacked’) so the whole scene was in sharp focus. I’ve done this in the past with limited success, taking the shots individually and moving the focus point manually between shots – all a bit hit and miss (mostly miss!)
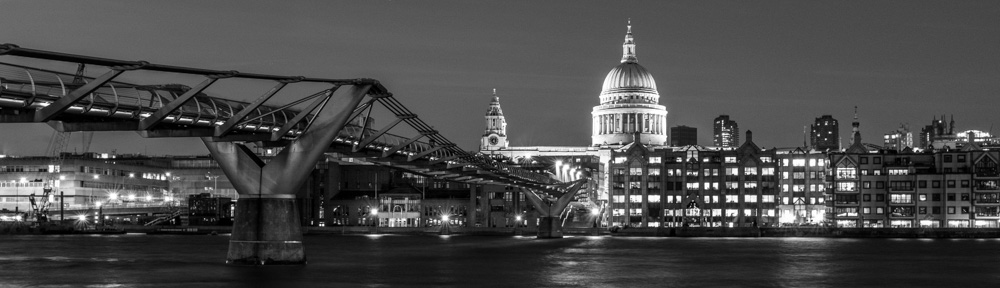
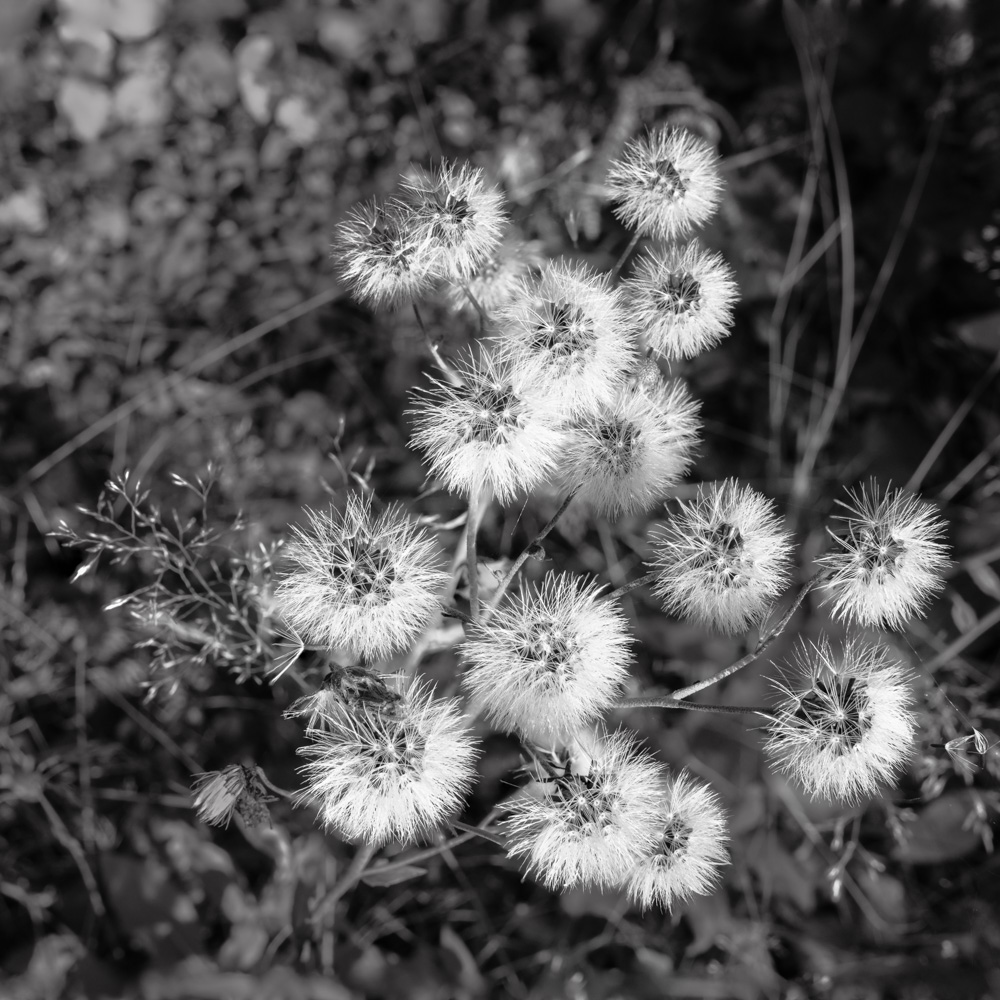
The X100V has the option to automate this process, and my goodness, once you figure it out it’s brilliant. Set the camera drive mode to focus stack, set the close and far focus points on the LCD screen, and away you go… After a couple of attempts where I had the lens wide open at f2 and the camera created a batch of 87 images (!) I figured out that f8 was a safe bet and this yielded a more manageable set of 6-10 images to stack. A quick whiz through Photoshop’s merge mode, and hey presto, a stacked image was back in Lightroom. A pretty decent result, with minimal effort. Works well on landscape shots and relatively close up shots – notice how much of each of these photos is in focus – far more than could be achieved by stopping the lens down.
The other feature I was keen to try was geotagging – ie tagging each image with the location coordinates. I’ve tried it with other cameras in the past, either using a 3rd party app that was a nightmare to use, or the rather unreliable option on my Sony camera.
Once I’d connected the camera to Bluetooth on my iPhone and selected the geotagging option, it was pretty much plain sailing – it just works in the background, and you know it’s working because there’s a tell-tale indicator on the screen. Just have to make sure that Fuji Camera Remote is active on the phone.
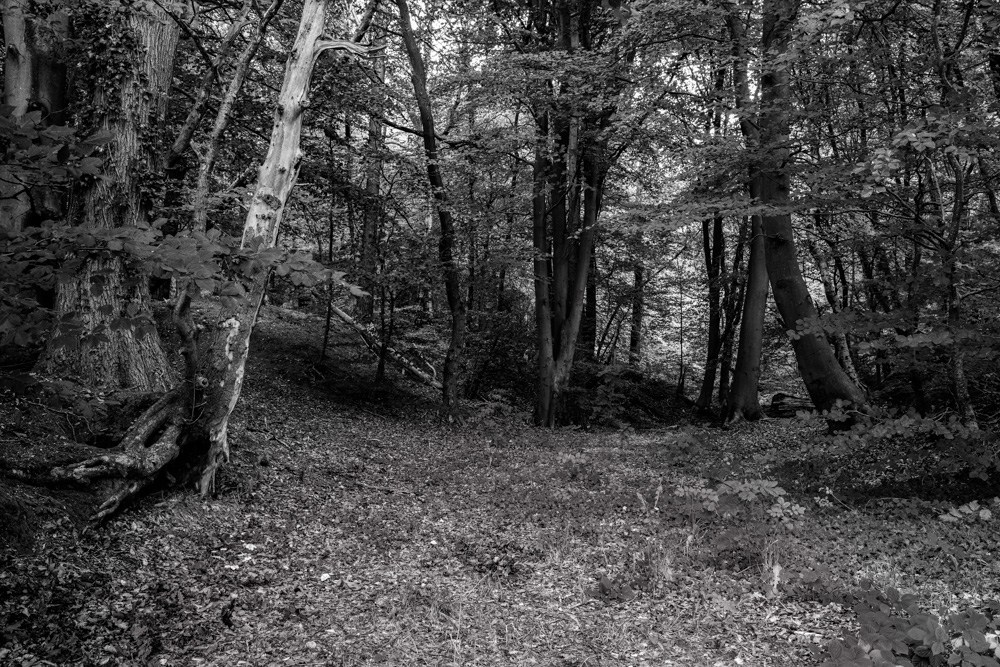
So, a pleasant hour or so in Maer Hills Woods exploring, and getting some practice in with these really useful features. What next I wonder?

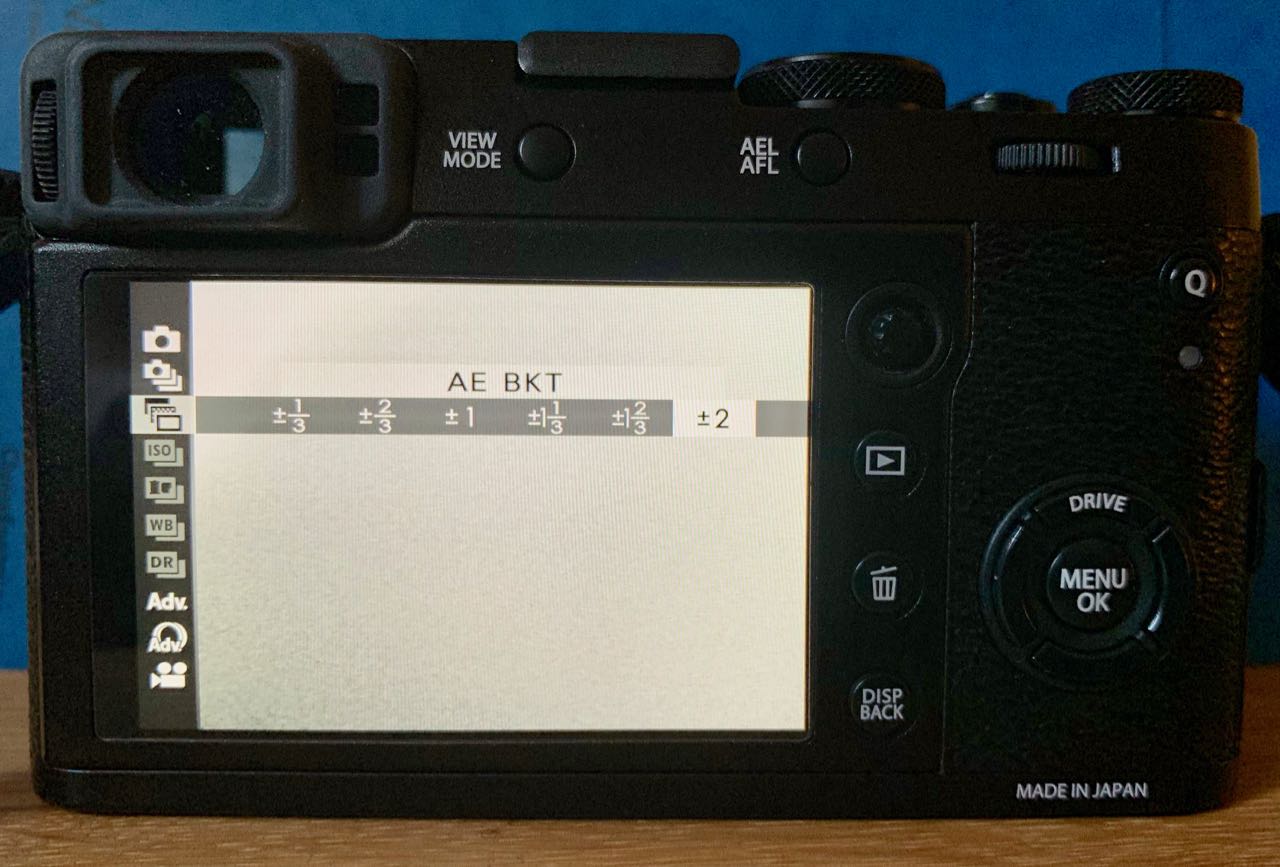 It’s easy enough to do with your camera though, and potentially gives much better results… Start by setting your camera to ‘exposure bracketing mode’
 (If you really feel you need more than 3 shots with the X100F, there is a workaround – set the camera as above and take your first three shots, then turn the compensation dial to say, -3 and shoot again, then repeat using +3 – that way you end up with a series of 9 shots covering a wider exposure range. Keep the camera still during this whole process, so it really does mean using a tripod… Then choose maybe 5 or 7 shots that cover the range of exposures from darkest to lightest. Remember that with the X100F you can change exposure compensation by up to +5 and -5 by using the front wheel.)
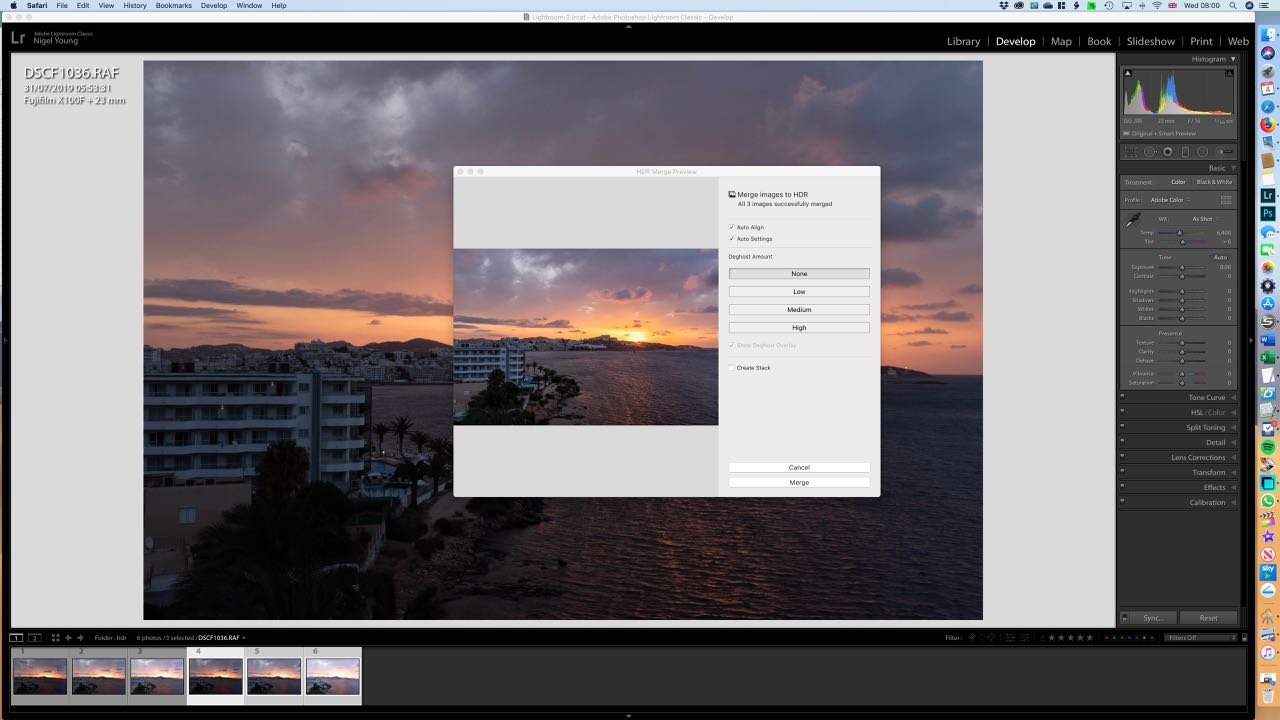 Then import your photos for editing (I always use Lightroom, but there is other software that will do HDR merging). Then select your set of images and right click, select Photo Merge, than HDR. It’ll take a few seconds to create a preview depending on how fast your computer is, and how many photos you are merging. Adjust the options for auto aligning images and adjusting deghosting if necessary and then click ‘merge’ and Lightroom will, in a few seconds, add the new merged image to your filmstrip.